After Bots — a new book by our founder on classifying AI agents. Now available
Arkose Labs protects account integrity and builds customer trust with adaptive defenses and proven enterprise results.
The unified platform behind every Arkose product. Stop bots, AI agents, and human fraud networks with adaptive defenses across the entire user journey.
Protect every step of the user journey. Defend your platform from account takeovers, fake signups, API exploits, and SMS fraud.
Access Arkose reports, case studies, webinars, tools, and expert insights to protect accounts and platforms.
Learn about Arkose Labs—our leadership, partners, careers, and mission to secure digital experiences.
Blog
Research, perspectives, and product news from the Arkose Labs team. Filter by category or browse the latest posts below.
AI
Your customer's AI agent and a fraudster's use the same tools. See why AI agent detection now means classifying intent—not asking "bot or human?"
Kevin Gosschalk
Arkose Titan
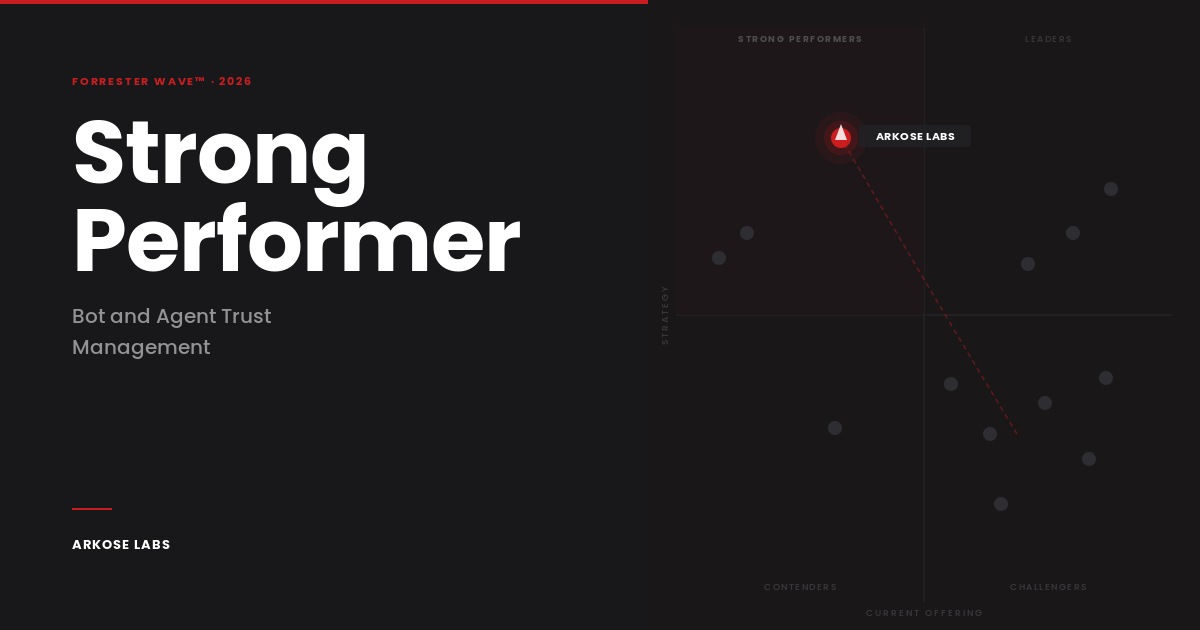
The Forrester Wave™ 2026 evaluates bot and agent trust management vendors. Learn why Arkose Labs earned a Strong Performer position and what it means for your security strategy.
Shimon Modi
Trust and safety leader Paul Rockwell on why the bot-vs-human binary is collapsing, and what security teams need to build before it does.
Cassie Stevenson
Human Fraud Farms
SMS toll fraud isn't a payment fraud problem. It's a bot detection failure that human fraud farms exploit. Here's how it works.
Leah Moore
Fraud Prevention
Agentic AI has made fraud cheaper and faster than ever. Here's why the only durable response is making attacks cost more than they're worth.
Economic deterrence makes human fraud farm operations unprofitable. Here's why detect-and-block can't change those economics - and what does.
Agentic AI security architecture needs to be built around economics, not trust — and the data from RSAC 2026 shows why identity-first fails.
Human fraud farms are built to defeat defenses like behavioral biometrics, IP reputation and challenge-response. Here's why each breaks down.
Agentic AI fraud runs like a digital factory - autonomous agents, no human labor, self-improving campaigns. See what the attack looks like.
Human fraud farms use real workers to execute fraud at scale — defeating detection, creating fake accounts, enabling ATO.
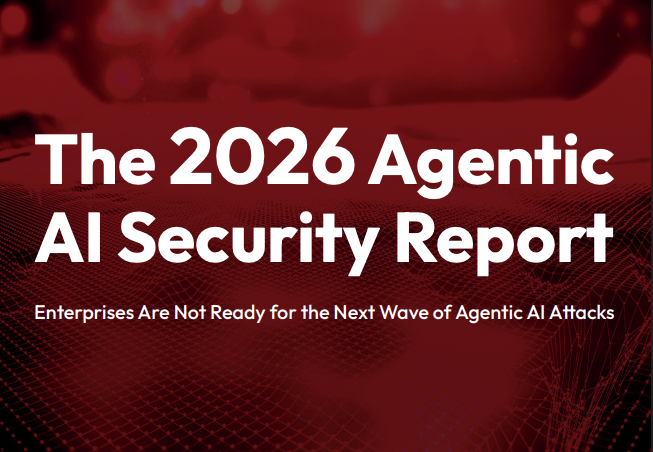
Agentic AI security gap: 97% of enterprise leaders expect an AI agent incident this year. See the readiness gap and learn how to close it.
Agentic AI fraud costs businesses billions; losses projected to reach $40 billion by 2027. Learn what's driving the surge and how to defend.
Tsvetan Tsonev
Device ID
Device fingerprinting fails at scale - one device, dozens of conflicting IDs. Arkose Device ID solves the collision and division problems.
Ashish Mittal
Arkose Titan unifies bot, account, and fraud defenses into one platform, using shared intelligence to make attacks economically unviable.
Arkose Product
Forrester names Arkose Labs in its Bot and Agent Trust Management Software Landscape report. See why our bot defense platform stands out.